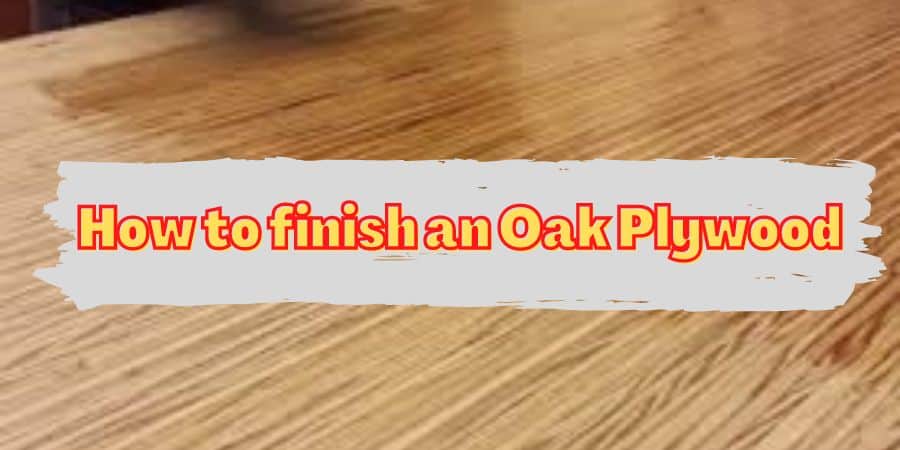
Initially, you should clean the dust and debris from Oak plywood before attempting to finish it. Finishing Oak plywood projects inside/away from dust will keep dusty particles from falling on the surface and ruining the final look. It is important to apply finishing in a dried state as well.
Before you get started, gather the following materials:
- Acetone
- Soft cloths or paper towels
- Sandpaper
- Clear, penetrating epoxy
- Foam brush or roller
1. Clean the Surface
Clean the wood surface with acetone using a paper towel or soft cloth. Move on to the next step after letting the acetone dry completely.
2. Sand the Wood
As with other types of wood, Oak plywood needs to be sanded before sealing, staining, or painting. The wood should be sanded on both sides, including the edges, with 150-grit sandpaper. Dust and particles should be wiped away with a soft cloth.
3. Apply the First Coat
In contrast to other types of sealants, we prefer clear, penetrating epoxy because it penetrates deep into the wood, dries transparent, and requires less maintenance. You can choose any other type of finish to apply on Oak plywood.
- Make sure you dip your foam brush or roller into the sealant.
- Starting with the top and side edges, apply it to the face of the oak plywood.
- Finish the bottom edge of the oak plywood and the back by flipping it over and letting it dry completely.
Some finishes take less time dying while others take more. So read the instructions written on the finish you are using and give that much time to dry oak plywood after treating with finish.
4. Add Additional Coats
For oak plywood to last a long time, you must apply more coats than for typical plywood. Sealants should be applied as many times as the plywood has layers.
Therefore, if your oak plywood has seven layers, you should apply seven layers of sealant. Before applying the next coat of varnish, carefully scuff up the wood with sandpaper for maximum adhesion.


