Wood filler is a versatile material that can be used for various applications in woodworking projects. It’s a putty-like substance that is made from a combination of wood particles and a binding agent.
Wood filler comes in a variety of colors and can be used to fill in imperfections, repair cracks, stabilize loose joints, and even create molds. In this article, we’ll explore ten common uses for wood filler in woodworking projects.
If you’re a woodworking enthusiast, you know that no project is ever perfect. Even the most experienced woodworker is likely to encounter gaps, cracks, and imperfections in their work.
But don’t worry – that’s where wood filler comes in. Wood filler is a versatile material that can help you fix a wide range of issues in your woodworking projects, from repairing cracks to filling in knots.
In this blog post, we’ll explore the ins and outs of wood filler, including its composition, uses, and tips for getting the best results. Whether you’re a seasoned woodworker or a beginner, this guide will help you get the most out of this handy material.
10 uses of Wood Filler

1. Filling Holes and Gaps
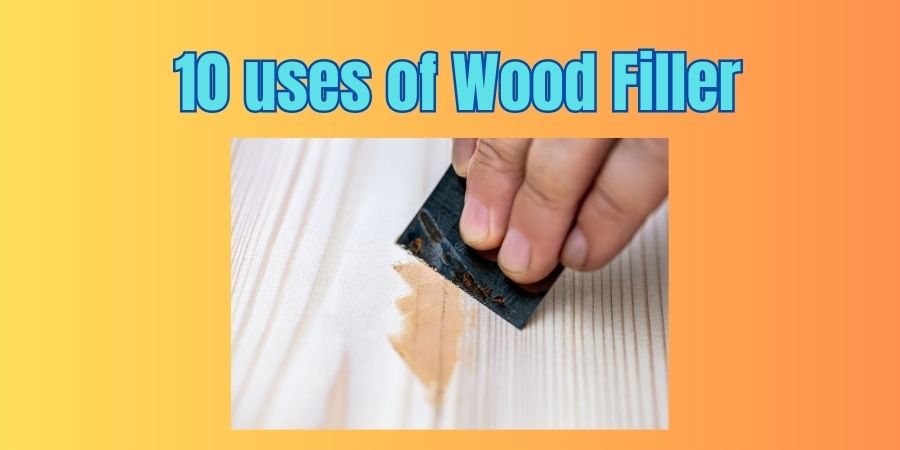
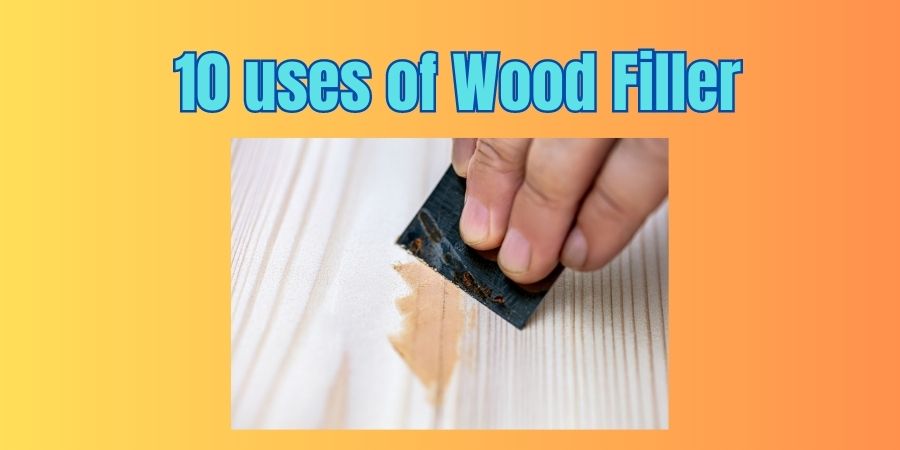
One of the most common uses for wood filler is filling holes and gaps in wood surfaces. Whether you have nail holes, dents, or gaps in your woodwork, wood filler can be used to fill in these imperfections.
Simply apply the filler to the affected area and smooth it out with a putty knife or a scraper. Once the filler has dried, sand it down to create a smooth, even surface.
2. Repairing Cracks and Splits
Wood filler can also be used to repair cracks and splits in wood surfaces. If you have a crack or split in a piece of wood, apply the filler to the affected area and work it into the crack or split using a putty knife or a scraper.
Once the filler has dried, sand it down to create a smooth surface that blends in with the surrounding wood.
3. Creating Wood Grain
If you’re working with a wood surface that has an inconsistent grain pattern, wood filler can be used to create a more uniform look.
Simply apply the filler to the wood surface and use a tool or a brush to create a wood grain pattern. Once the filler has dried, sand it down to create a smooth surface.
4. Stabilizing Loose Joints
Wood filler can also be used to stabilize loose joints in wood furniture. If you have a chair or table with loose joints, apply wood filler to the affected area and clamp the joint together until the filler has dried.
Once the filler has dried, sand it down to create a smooth surface.
5. Sealing Wood Surfaces
Finally, wood filler can be used to seal wood surfaces to prevent moisture from seeping in.
Apply the filler to the wood surface and work it into any cracks or imperfections. Once the filler has dried, sand it down to create a smooth, even surface that will protect the wood from moisture damage.
Wood filler is a great addition to any woodworking project, and with its versatility, you can use it for a variety of purposes.
Whether you’re repairing cracks or splits or creating a more uniform wood grain pattern, wood filler can help you achieve a professional-looking finish.
6. Smoothing Out Wood Grain
Wood filler can be used to smooth out the grain of rough or uneven wood surfaces. A
pply the filler to the surface and use a putty knife or a scraper to spread it evenly over the surface.
Once the filler has dried, sand it down to create a smooth, even surface.
7. Repairing Knot Holes
Knot holes can be a common issue when working with wood. Wood filler can be used to fill in these holes and create a smooth surface. Apply the filler to the hole and smooth it out with a putty knife or a scraper.
Once the filler has dried, sand it down to create a smooth surface that blends in with the surrounding wood.
8. Carving and Sculpting
Wood filler can also be used for carving and sculpting. Apply the filler to the wood surface and use a sculpting tool to create the desired shape. Once the filler has dried, sand it down to create a smooth surface that can be painted or stained to match the surrounding wood.
9. Creating Molds
Wood filler can be used to create molds for casting materials such as plaster or concrete. Apply the filler to the desired shape and allow it to dry. Once the filler has dried, remove it from the mold and use it as a template for casting.
10. Filling Voids in Live Edge Wood
Live edge wood can have voids or holes that need to be filled. Wood filler can be used to fill in these voids and create a smooth surface. Apply the filler to the void and smooth it out with a putty knife or a scraper. Once the filler has dried, sand it down to create a smooth surface that blends in with the surrounding wood.
When not to use Wood fillers?
While wood filler is a useful material for many woodworking projects, there are some situations where it may not be the best choice. Here are a few examples of when not to use wood filler:
1. Large Structural Repairs
Wood filler should not be used to repair large structural issues, such as broken or rotted wood beams. In these cases, it’s best to replace the damaged wood entirely or consult with a professional.
2. High-Stress Areas
Wood filler is not a suitable material for areas that will be subjected to high stress or weight, such as the legs of a chair or table. In these areas, it’s best to use a stronger material, such as wood glue or dowels.
3. Excessive Moisture
While some types of wood filler are designed for outdoor use, excessive exposure to moisture can cause wood filler to deteriorate and crack over time. In areas that will be exposed to water or high humidity, it’s best to use a material that is specifically designed for wet environments, such as marine-grade epoxy.
4. Large Voids or Gaps
If the area that needs to be filled is particularly large or has irregular shapes, wood filler may not be the best choice. In these cases, it may be more appropriate to use a different material, such as foam or fiberglass.
5. Finishing Issues
If you plan to use a clear finish or a stain on your woodworking project, be aware that wood filler can sometimes create a noticeable contrast with the surrounding wood. In these cases, it’s best to use a wood filler that is specifically designed to be stainable or use a different material, such as wood shims or veneer.
FAQ
What is wood filler made of?
Wood filler is typically made of a combination of wood particles and a binding agent, such as polyurethane, epoxy, or vinyl.
Can wood filler be stained or painted?
Yes, wood filler can be stained or painted to match the surrounding wood. Be sure to choose a wood filler that is compatible with the stain or paint you plan to use.
How long does wood filler take to dry?
The drying time for wood filler can vary depending on the brand and the size of the repair. Generally, wood filler can take anywhere from a few hours to overnight to dry completely.
Can wood filler be sanded?
Yes, once the wood filler has dried, it can be sanded down to create a smooth, even surface. Be sure to use a fine-grit sandpaper and work slowly to avoid damaging the surrounding wood.
Is wood filler waterproof?
Some types of wood filler are waterproof, while others are not. If you plan to use wood filler in an area that will be exposed to moisture, be sure to choose a waterproof or water-resistant option.
Can wood filler be used outdoors?
Yes, some types of wood filler are designed for outdoor use and can withstand exposure to the elements. Be sure to choose a wood filler that is labeled for outdoor use and follow the manufacturer’s instructions carefully.


