If you’re looking to add a touch of creativity to your woodworking projects, bending Medium Density Fiberboard (MDF) might be just the trick you need.
MDF is a versatile material that’s commonly used in furniture and interior design due to its smooth finish and ease of customization.
While it’s not as naturally flexible as some other woods, with the right techniques, you can give MDF a gentle curve or shape that adds a unique flair to your creations.
In this article, we’ll explore five effective methods to bend MDF and unleash your woodworking prowess.

Table of Contents
1. Steam Bending
Steam bending is a classic technique that harnesses the power of moisture and heat to make wood more pliable. It works like a charm with MDF too. Here’s how you can do it:
Materials You’ll Need:
- MDF board
- Steam generator or a large pot with a lid
- Heat-resistant gloves
- Clamps
- Jig or mold
Steps:
- Prepare Your Steam Setup: If you’re using a steam generator, follow its instructions to set it up. If you’re using a pot, fill it with water and bring it to a boil. Create a makeshift lid with a cloth or foil, allowing the steam to circulate inside.
- Steam the MDF: Wear your heat-resistant gloves and expose the MDF board to the steam for about an hour per inch of thickness. This will soften the fibers and make the bending process smoother.
- Shape the MDF: Once the board is adequately steamed, carefully remove it and immediately place it into your pre-built jig or mold. Clamp it in place and let it cool down while maintaining the desired shape.
- Wait and Dry: Keep the board clamped in the mold for a day or two, allowing it to dry and hold its new shape.
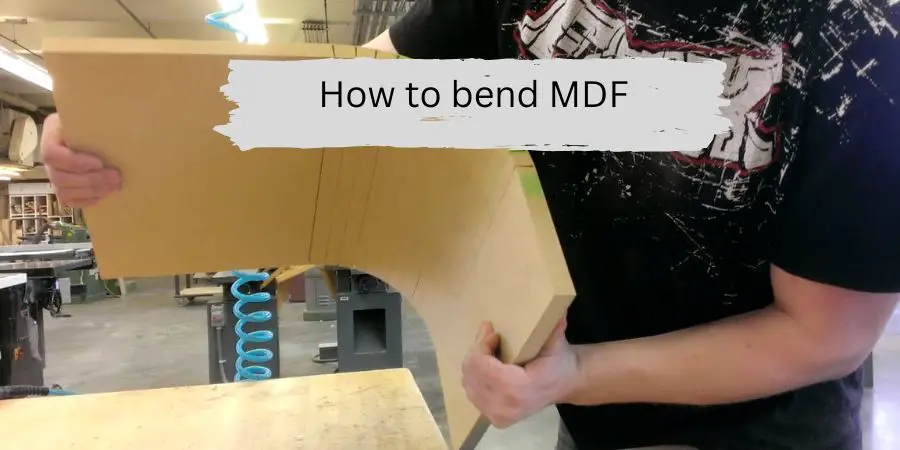
2. Kerf Cutting
Kerf cutting involves strategically placed cuts on the inside of the MDF board, reducing its resistance to bending. It’s a straightforward yet effective method that yields impressive results.
Materials You’ll Need:
- MDF board
- Circular saw or table saw
- Ruler or measuring tape
- Clamps
Steps:
- Mark the Cuts: Measure and mark where you want to make the cuts on the inside of the MDF. These cuts, known as kerfs, should be evenly spaced and not too deep.
- Make the Cuts: Use a circular saw or table saw to make the cuts you marked. Be precise and consistent in your cutting depth to ensure an even bend.
- Bend the MDF: Gently bend the MDF along the kerf cuts, encouraging it to take the shape you desire.
- Secure and Wait: Clamp the bent MDF in place and let it sit for a day or two. This will allow the fibers to adjust to the new shape.
3. Layer Lamination
Layer lamination is a method that involves gluing together thin layers of MDF to create a curved shape. It’s a bit more intricate, but the results can be stunning.
Materials You’ll Need:
- Thin MDF sheets
- Wood glue
- Clamps
- Jig or mold
Steps:
- Prepare Your Layers: Cut thin MDF sheets into strips of equal width. The number of layers you’ll need depends on the degree of curvature you desire.
- Apply Glue: Apply wood glue to one side of each strip and stack them together, aligning the edges.
- Clamp the Layers: Clamp the glued layers to a pre-made jig or mold that matches the desired curve. Make sure the layers are tightly pressed together.
- Let it Dry: Allow the glued layers to dry completely. This might take a day or more, depending on the glue and environmental conditions.
- Release and Refine: Carefully remove the laminated MDF from the mold. Sand and shape it as needed to achieve the desired finish.
4. Heat and Moisture Technique
If you’re looking for a quicker method that doesn’t require specialized equipment, the heat and moisture technique might be just what you need. This approach combines heat and moisture to make MDF more pliable for bending.
Materials You’ll Need:
- MDF board
- Water sprayer or damp cloth
- Iron or heat gun
- Clamps
- Jig or mold
Steps:
- Moisten the MDF: Lightly dampen the surface of the MDF board using a water sprayer or a damp cloth. Don’t soak it, but ensure that it’s evenly moist.
- Apply Heat: Use an iron on a low setting or a heat gun to apply gentle heat to the moistened area. Keep the heat source moving to prevent scorching or warping.
- Bend the MDF: Once the area is warm to the touch, carefully bend the MDF to the desired shape. The combination of heat and moisture will make it more flexible.
- Secure and Cool: Clamp the bent MDF in place using a jig or mold and let it cool down. As it cools, it will hold its new shape.
5. Press Mold Technique
The press mold technique involves using a custom-made mold to bend MDF to a specific shape. This method is ideal for projects that require consistent, repeatable curves.
Materials You’ll Need:
- MDF board
- Mold (made from plywood or MDF)
- Wood glue
- Clamps
Steps:
- Create the Mold: Craft a mold from plywood or MDF that mirrors the shape you want to achieve with the MDF board. Ensure that the mold is smooth and free of imperfections.
- Glue and Clamp: Apply wood glue to the MDF board’s surface that will come into contact with the mold. Place the MDF board onto the mold and press it down firmly.
- Clamp the Assembly: Use clamps to secure the MDF board to the mold. Make sure the pressure is distributed evenly to ensure a consistent bend.
- Drying Time: Allow the glue to dry completely. This might take a day or more, depending on the glue and environmental conditions.
- Release and Refine: Gently remove the MDF from the mold once the glue is dry. Sand and refine the bent area to achieve the desired finish.