Thread-
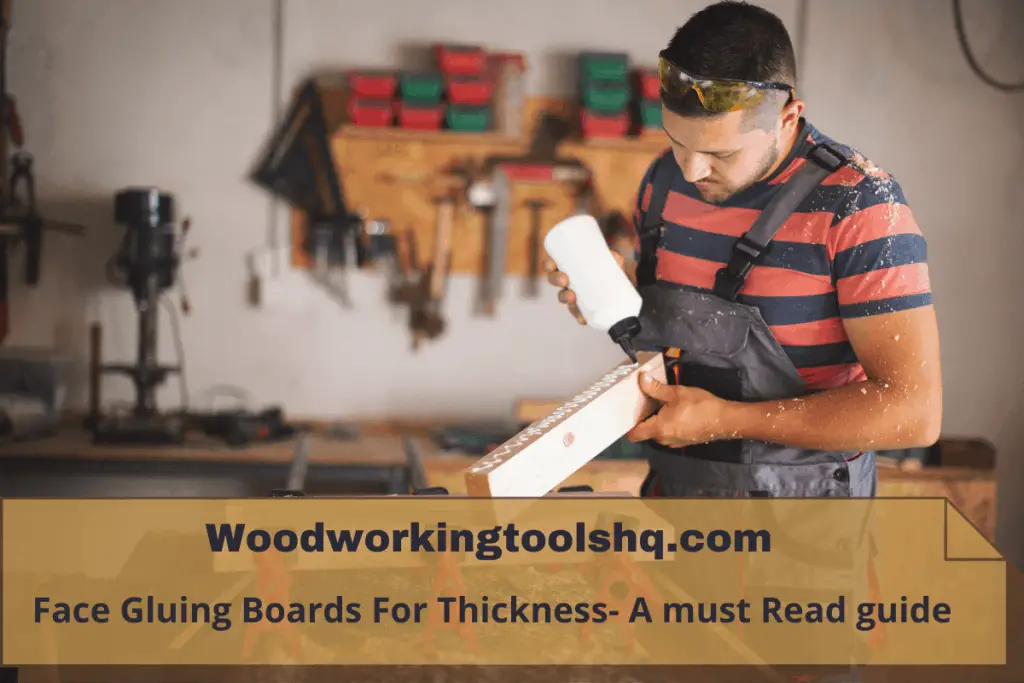
My goal is to build a table’s legs where I require wood boards of 1 ½ thickness. Whereas I got boards 4/4 and 8/4 inches thick. I’m looking for ways to glue them and would like to know if it’s viable to glue together the boards if there is something I need to take into consideration. Note that, I don’t want to give a plywood-like look.
Answer-
First, to clear your doubt, the multiple layers of wood don’t add up to a plywood-like look. It’s a matter of skill. And gluing multiple boards is a common practice in woodworking, you probably have seen that before. In your home, if you look at the furniture, you will find that there are multiple boards attached.
Fewer glue lines in the stock always appeal to me. That is a sign of excellence. Preferably, two or three wood boards should be joined together, later you can add up those pieces together to get desired thickness depending upon your project needs.
The best method of face-gluing thicker boards
Applying face glue to wood boards can be done in a number of ways. There is still no substitute for the best one.
As the main problem that comes to exist while face-gluing is the pieces slipped off when applying clamps. By taking this concern as the main point to guide you through.
Summary-
The glue coat should be thin and evenly applied across both sides of the boards by using a roller. Allow them to dry for 24 hours. Excess glue should be wiped off. Parallel clamps are a good way to prevent pieces from slipping, after which F clamps should be used to keep them in place for 24 hours.
We found a very useful video for the below procedure.
Tools used-
- F Clamp: For holding wood pieces from different points.
- Parallel Clamp: For holding the wood boards parallel.
- Ink Brayer – Glue Roller: For spreading the Glue all over the surface.
- Wood Glue: Any wood glue to hold pieces together.
- Wood pieces: Staple wood pieces evenly to increase thickness.
Step.1 Dust off the surface, make it even.
First of all, you need to make sure the surface is smooth and clear, meaning there is no dust or whatsoever lying on it.
Using a rag or sometimes light sanding will do the job. Conversely, use 220 or 250 grit sandpaper to clean the surface.
Step.2 Applying glue on either side of the boards.
The boards should be glued from both sides which need to be faced. By using a glue roller, spread the applied glue all over the surface, making sure there are no ups and downs.
Not just one because many times due to lack of glue between the boards can make things up.
As soon as possible, wipe out excess glue from the sides before it hardens and becomes rough. Keep a scrapper aside when working.
Step.3 Use a parallel clamp to hold pieces together.
Now using the parallel clamp, hold all the pieces horizontally. This way the cause of slipping them off will be reduced.
Step.4 Use f clamps to hold vertically wood boards.
Now that the parallel clamps are holding the wood boards, use the F clamps to hold them vertically so that the gaps between them are condensed.
If you got large wood board pieces then apply the same process with parallel clamps and f clamps at different points.
Note that, we use parallel clamps only for a certain time, once you use f clamps then there is no longer a need for parallel clamps.
Don’t remove the f clamps for at least 24 hours. The wood glue drying period can exceed in some cases. However, a day is ideal.
Alternatives to preventing sliding up wood boards
To prevent slipping that occurs when facing glue boards, there are a few methods you can go with.
Mainly if the boards are not too large such as small pieces, then these alternatives are appropriate.
Sprinkle salt on the surface.
Salt is a good alternative to prevent slippage problems.
Salt has the ability to mix up with wood glue without losing the adhesive property.
Use nails or screws
Many of the ways to encounter slipping-off problems are to use screws to fit together the wood boards when facing Gluing.
Bite a nail onto a surface, cut the top cap of the nail or use a nail with a cutter.
Leave a visible length of the nail and then lay the second wood piece in such a way the visible screw will bite in the second wood board.
Face gluing wood without clamps
In the scenario, you don’t have f clamps yet require a thicker wood. Good for you, it’s possible.
Two methods can be used to accomplish this. You can use superglue: a fast-drying wood glue, appropriate for joining small wood pieces without clamps. Or you can use any heavier thing to put on to pressure the two pieces, it’s suitable for long wooden pieces as well.
There’s nothing wrong with using superglue as long as you think the wood pieces are small enough to press them with hand power.
There is a video tutorial that will help you demonstrate this process.
How to deal with long and wide wood joints
If you have wider boards and want to join them together such that you want to butt joint.
Then below is the video tutorial we found useful regarding that.
Do we need this additional thickness?
Is it still possible to proceed without more thickness?
For this discussion, let’s assume you are building a furniture top, and the timber is 3/4″ in thickness, and the concern is the strength.
To increase the strength, you will need to increase the thickness.
So, what is the advantage of using 1 1/2″ for the top? In a word- Strength.
I suspect the top would be sufficiently strong at 3/4″. But to create a realistic appearance of depth, we often join thicker edges around the whole piece so that it appears thick as an entire piece. We recommend using thicker wooden boards to create the bottoms of furniture or chair legs.
Using this method results in a cheaper alternative and a reduction of wood use in future projects.
Useful tips for face gluing wood boards
Some tips can help you get the most out of your face gluing projects.
Let’s talk about what they are.
The first tip is: make sure to make the topper surface equally balanced from one edge to another.
Oftentimes woods with uneven surfaces cause trouble like they don’t condense into one due to big gaps.
However, note that small gaps can be filled in by applying some pressure, woods like pinewood for instance have some elasticity, when applying pressure it gets wrapped in.
Conversely, plywoods and chipboards are prone to breaking due to their lack of elasticity. Because of this, you need to pick wood boards with balanced grain.
The second tip is: Do not apply too much glue rather apply a thin coat.
The problem with thicker wood glue coats is that they get wasted and take additional time to dry.
Wasted as a result of leakage on the side that you will need to wipe off with a rag or scraper after applying pressure.
Tip no 3 is: Use the same type of wood material when face gluing board.
The problem with two different types of material when joining is that they don’t look quite good because of the difference in grains and colors. Regardless of how they are managed, they will begin to appear different over time.
Can you face glue bowed boards?
Bowed boards cannot be glued unless they are straightened. Thus, first, you need to remove the bow. For thicker wood, it’s a common practice. To straighten thin wood bows, one cannot do anything other than wet them and press them until the bow has been removed.
There are multiple ways to make them straight to make their surface evenly balanced.
The best method so far is to use a planner saw: a sort of power sander tool used to make plan timbers of wood.
However, if you got aboard too wide for the sander tool, at that time you can slice the wide board into pieces (later can join them with glue), once it gets planned.
You might benefit greatly from watching the video tutorial below.
In this stage, your bow has curled to the surface level, and attaching it to the top will bring the gluing process up to another level.
Depending on your project and stock inventory, you may need to add thickness.
Table legs can benefit from extra thickness, especially when used for less formal purposes like the 2×4 example above. For shorter spans, it can be a fairly easy process to add extra thickness.


