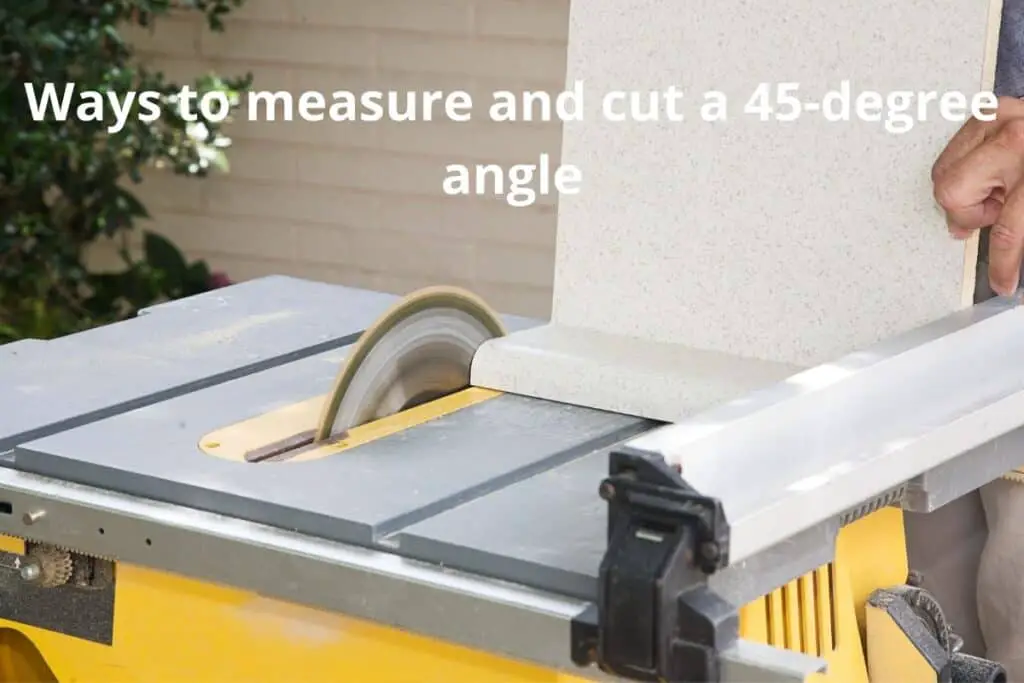
If you’re reading this blog then it’s most likely you’re facing hard times to cut a perfect 45 angle using a table saw.
Fortunately, there are multiple ways to cut an angle on a perfect measurement. Whether your table saw blades are adjustable or you manually do.
In this blog post, you will surely find some new ways.
What to know?
These days many table saws have an adjustable blade which makes the process of taking a perfect 45-degree measurement easy.
Simply tilt the blade and see the miter gauge is at the right position. Meanwhile, use a pencil to mark area on the wood peice to cut thorugh it.
if your table saw doesn’t have a miter guage, not to worry.
There are multiple ways to get 45-degree cuts using different ways.
We’ll talk about the easiest ones first here.
Table of Contents
Method. 1 Use 45 Degree Scale to accurate measure
If you don’t believe in the accuracy of your table saw’s gauge.
Then you can use a separate scale to ensure that the blade is right at the 45 angle measurement so that it would cut a perfect 45 angle bevel.
For a table saw who already has a scale pushing the blade from 45″ to 90″.
This method is suitable to double-check the measurement, specifically if you tried the size and found the scale wasn’t accurate.
The simplest and less time-consuming way is to pick a 45-degree scale and set it against the blade, clear the surface to get the maximum accuracy.
Now make sure the scale and the blade are in close contact with each other. The degree scale is there to help you set the perfect angle, simply tilt the blade until the scale is showing 45 degrees in the meter.
The image shown above can be used as a reference.
Method. 1 Use a Digital Angle Gauge
This tool called a digital angle gauge is also a suitable way to set the table saw blade at the desired angle.
With a magnet on the backside to attach to a saw blade and a digital screen on the front, it shows angles in numbers, one of the easiest ways to read angles.
Allow the tool’s back to contact the blade, then stick the two together. Make sure that you are always looking at the screen side.
Take a look at the readings as you tilt your blade. Once the blade has reached 45 degrees, stop leaning it.
The fact remains, however, that these kinds of tools are sometimes inaccurate in their measurements as if that weren’t enough.
These gadgets are generally found to have an average impedance of 0.2 (+,-).
For a simple wood project, it isn’t a matter of distinction.
In contrast, professionals intend to complete their work in the most stunning manner possible. That being said, 0.2 degrees is too much for them.
Making a measuring tool manually to cut 45 degrees.
When you don’t have a measuring tool, you can cut a bevel at a 45-degree angle with this method.
Here in this method, I’ll show you how you can make a wood frame to perform regular bevel cuts of 45 degrees.
Take up some wood pieces, plywood or timber both types of wood can do the job. Make sure they’re smoothly flat.
You’ll need some boards that are at least 22 inches long, and the width shouldn’t exceed ¾ inches since we’re making a frame that needs to be placed by the blade’s side.
Once you have the boards of the same size and shape, now measure them with a triangular scale such that you are making a triangle using the pieces.
You can glue their ends to their heads once you have cut the board. It’s because we want it to resemble a triangle.
Step1. Join two wooden boards at 90 degrees.
You can use any method to join two pieces of wood at 90 degrees. That’s what you need with two pieces of the wood board here in this step.
Step. 2 Making a frame
Take a square board of wood and attach it at the bottom as the surface and lay that two pieces of wood side by side so their heads meet at 90 degrees.
Draw a line at the center where these two boards meet.
Use a scale to measure the centric position since we are making a trainable frame for now; each corner should be at 90 degrees angles.
Step.3 Making a cut at the center.
Use your table to perform a cut in the middle.
it’s better to mark the spot before cutting it since you need a very accurate straight 90-degree cut. here.
Step.4 Put a wood piece on the table saw.
Make sure that the frame is in line with the pre-cut we made earlier. The frameworks are similar to a scale.
Place a piece of wood on top of it as shown in the image and cut it using a table saw.
Like you do, simply push forward the piece depending upon the cutting capacity of the blade.
Step. 5 Final: A perfect 45-degree cut
This is the end result you will get by making cuts of this wood frame.
A perfect, accurate 45-degree cut.


