If you’re into woodworking or furniture restoration, you’ve probably encountered the age-old debate of whether to use Danish oil over stain. It’s a topic that sparks discussions among DIY enthusiasts and professionals alike. In this blog post, we’re going to dive into this matter and provide you with the lowdown on these two popular finishing techniques.
Table of Contents
Stain First or Danish Oil Directly?
Let’s address the first question that often comes to mind:
Should you apply Danish oil over stain, or should you use Danish oil directly on the wood?
The answer isn’t a one-size-fits-all solution; it depends on the look and protection you’re aiming for.
Staining First:
- What it does: Staining wood enhances its color and adds depth to the grain, giving it that warm, rustic feel.
- How to do it: Apply your chosen wood stain evenly, let it penetrate, and wipe off any excess.
- When to follow this route: If you want to alter the wood’s color before applying a protective finish.
Danish Oil Directly:
- What it does: Danish oil serves as both a finish and a wood treatment. It enhances the natural beauty, adds a soft sheen, and provides some protection.
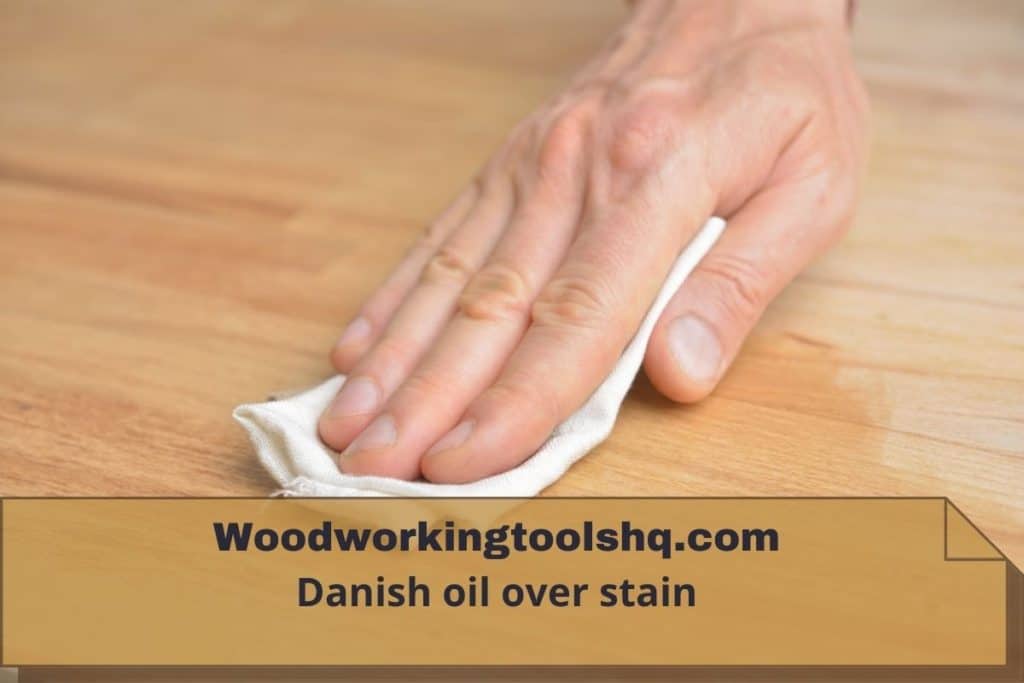
- How to do it: Apply the Danish oil evenly, let it soak in for about 15 minutes, and wipe away the excess.
- When to follow this route: If you want to enhance the wood’s natural color and grain while still protecting it.
Compatibility is Key
The second question you need to tackle is the compatibility of Danish oil and stain. Can they work together harmoniously, or will they clash like mismatched colors in a paint palette?
Friendly Pairing:
- Oil-Based Stains: Danish oil is typically compatible with oil-based stains. They share a similar base and tend to complement each other well.
- Gel Stains: These thicker stains can also work with Danish oil, as they don’t interfere with the oil’s absorption process.
Exercise Caution:
- Water-Based Stains: Here’s where you need to be careful. Danish oil is oil-based, while water-based stains are, well, water-based. Mixing oil and water doesn’t usually end well. If you’re determined to combine the two, make sure the water-based stain is completely dry before applying Danish oil.
- Pigmented Stains: Stains with a high pigment content might not play nice with Danish oil. The pigments can interfere with the oil’s ability to penetrate the wood, resulting in an uneven finish.
What are some pros and cons of Danish Oil?
Like each product there must be some pros and cons that a person who is using the first time should be well aware of that, to make a better decision and get the most out of it.
Similarly, I’ve listed below some of the advantages and disadvantages of using Danish oil, based on my own experience using it on a variety of wood projects.
| Pros | Cons |
|---|---|
| Protective oil for water | Needs to be maintained regularly |
| Quicker to dry | Instability |
| Contains no toxins | An exhausting task |
| The safety of food | Suitable for wood that has not been painted |
| Provides a higher degree of sheen | Occasionally, Sudden Ignitions can happen |
| Easily applied | Does not smooth the wood grain |
Instruction on Danish Oil? How to apply
Applying Danish Oil is a very straightforward process. This finish is easy to work with so that it’s a good option for beginners to work with.
Using Danish Oil on woodworking projects is how to do it right. Simply follow the steps mentioned below.
There are some things you need to follow to complete the process.
- Danish Oil
- Microfiber tack cloth
- Lint-free cloth or rag
- Foam Brush
- Disposable gloves
-
Step.1 Getting the wood surfaces ready.
First of all, you need to make sure the surface you’re about to work on is clear, there must not be any dust appearing. Also, it must be completely dried.
Now using sand grit to prepare the surface, the more you smooth the surface the better the end result will be.
The best way to sand is, to begin with, a grit size of 120 then 150, then 180, or you can go up to 220 sizes if you wish.
-
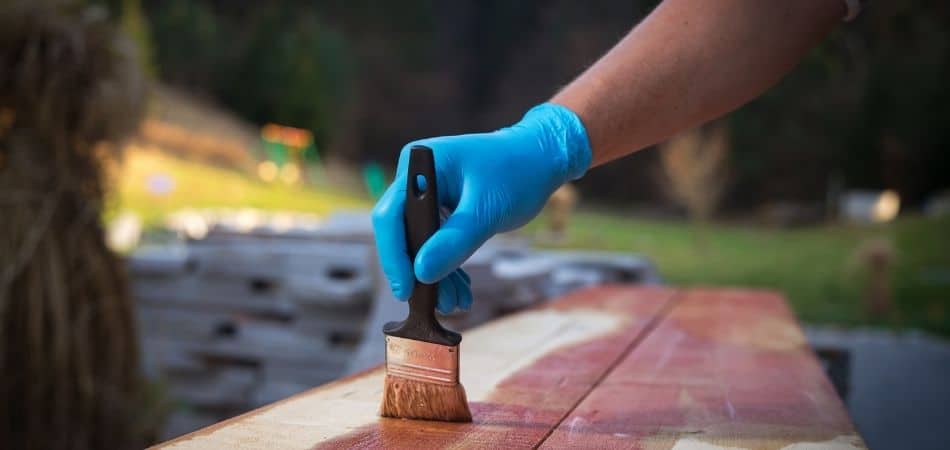
Step.2 Apply the first coat.
Before you start off applying coats, make things ready first by placing them nearby so you can reach them out easily.
Also, the environment should be best in regards to work, with that said, apply a coat in a well-ventilated area so that the smell can go outside.
Many oils I’ve worked with, their smell was really bad, in fact, many are dangerous to inhale.
After that you’re all ready, now open the oil can and mix it thoroughly. Apply the first coat by using a foam brush or a piece of microfiber cloth.
Don’t circulate the oil all over the surface, instead draw horizontal lines. In this way, you will get nice results and also less amount of oil will be used.
-
Step.3 Repeat the coats after a while
Let the first coat fully dry. It usually takes an hour to become hard to touch. However, in humid areas, the time span of the drying process can go up to 3 to 5 hours.
I usually apply 3 to 4 coats when working on a wood project. You’re allowed to limit to only 3 coats minimum, and 6 coats maximum. At that point, the wood piece may already start looking nice.
-
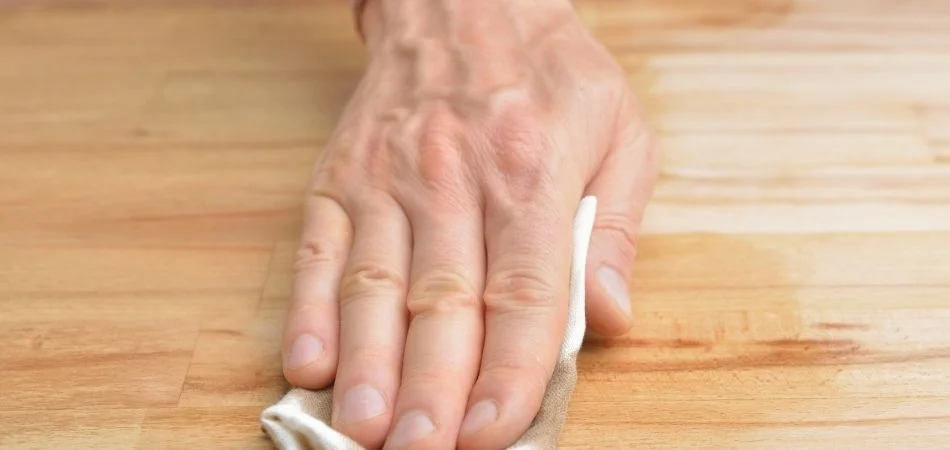
Step.4 Clean everything and wipe it dry
After finishing coats, make sure you clean the surface thoroughly. Use a towel or piece of cloth to dry the entire surface.
You should dry the surface as much as when touching it should feel 100% dry.
What is the Wood stain?
Wood stain is a type of paint used to color wood. There is a range of different colors available in stains these days to choose from.
A wood stain penetrates the upper layer of the wood surface just to give it a different color, it contains pigments that actually do not completely dissolve.
Opposed to that, its color particles dissolve and become a layer of top that is also protective.
What is Danish oil?
Oils finish like Danish oil, for instance, they are less dense so that they are used to be absorbed by the wood and shaped into a hard layer.
They don’t have any color like wood stains, with that said, the danish oil is used to give a piece of wood a dark color, add a protective coat to prevent scratches, dents, and other weather effects.
It can repel water and protect the wood from minor impact damage.
That is to be concluded, using oil for adding a protective layer is more effective than using a wood stain.
When Should You Apply Danish oil?
Each woodworker prefers the Danish oil for the long-lasting finish for the last coat.
If you want to make your furniture last long while giving it a sheen look that shines well too. There is no better option than danish oil. For some good reasons.
Danish oil adds a protective layer on wood, preventing pieces of furniture from scratches and dents. Unlike wood stain, this product goes deeper into a wood surface.
Due to its property of going deeper than a wooden surface, it also prevents wood from water and fits best to fight against humidity: outdoor furniture really needs to apply this coat.